Report Table Editor – Table Configuration Preview for Fixed Table
For a Fixed table the user is allowed to add rows/columns and configure each cell within the table.
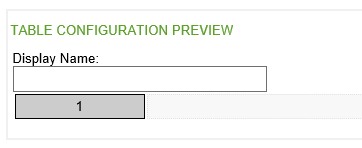
Initially, when the user is configuring a new table and selects Fixed, the user is presented with blank table as shown below:
Inserting, Appending, Deleting Columns or Rows. Copy/Paste Cells
To insert rows or columns, right mouse click on the one of the cells displayed and the following options will be available:
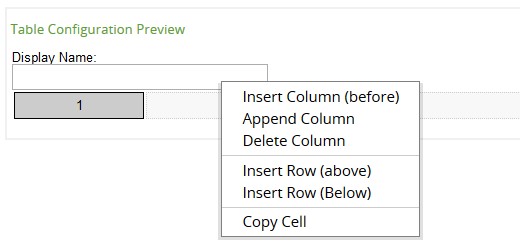
Once the initial row or column has been added, further rows and columns can be appended or inserted. To add further rows or columns, right mouse click on a blue cell in the selected row or column and a menu will appear. The user then has the option to insert, append or delete a row or column. Or copy/paste a cell.

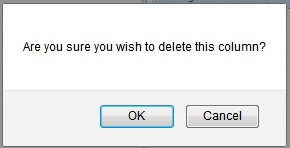
A warning prompt to confirm deletions is displayed if any of the cells within the deletion are configured (i.e. not blank).
Cell Configuration
For a Fixed Table, the cell type options are the same regardless of what row or column the cell is in. This is different for Iterative or From View tables where the options are dependent on the row.
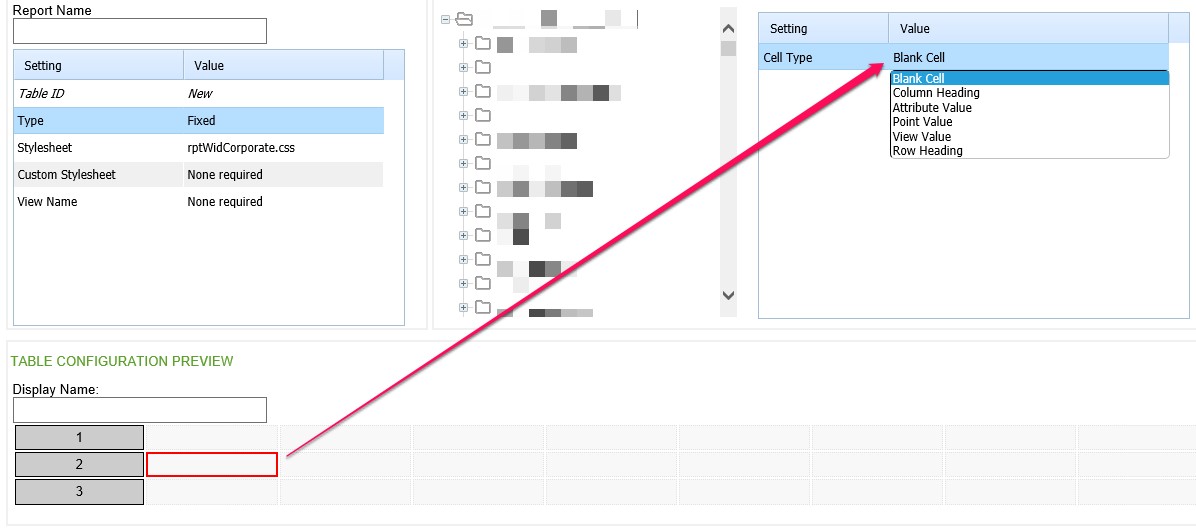
Like the table settings, double clicking the setting value (or pressing F2) allows the setting to be changed on the grid.
Parameters
The parameters will change depending on what the Cell Type has been set to. The options available will vary if using a Fixed or Iterative/From View Table.
Full details of the parameters are in the Configuration Table below.
If the cell has been set to Blank Cell then there are no configuration parameters to set.
This image explains what is shown in the table.

